Balatro Stakes Guide: All 8 Levels, Unlocks & Strategy
A practical reference to every stake modifier, deck-by-deck unlocks, and the changes that make a higher difficulty manageable.

Balatro stakes are the game's eight difficulty levels, from White Stake through Gold Stake. Each color adds a rule to the run, and every new rule stays active at the higher stakes. This Balatro stakes guide gives you the full order, explains what each modifier changes, and shows how to unlock the next level for a specific deck. The practical difference is not simply a larger blind: money, score timing, discards, and the Jokers you can safely buy all change as you climb.
How Balatro stakes work
A stake is a difficulty setting selected before a run. White is the baseline; Red restricts money, Green and Purple steepen the score curve, Blue reduces discards, and Black, Orange, and Gold add Joker stickers. Rules accumulate, so Gold includes earlier restrictions as well as Rental Jokers. When a color feels punishing, identify which active modifier is actually setting the run back.
The objective stays the same: build a scoring engine, clear the Antes, and beat the Ante 8 Showdown Blind. Progress is tracked separately for each deck, so a White win with one deck does not open Red for every deck. The deck and Joker used can receive a sticker showing the stake completed.
Treat each color as cumulative
Before starting a higher stake, list the active rules from earlier colors too. The combined pressure is the real difficulty.
All 8 Balatro stake levels and modifiers
This table shows the unlock order and the rule each level adds. A modifier remains active at every higher level. The strategy column names the first question to ask when that new pressure appears; it is a starting point, not a promise that one deck or Joker wins every run.
Gold is a stack, not a single twist
A Gold run combines the earlier money, score, discard, and sticker constraints. Prepare for the whole set.
| Stake | New modifier | First adjustment |
|---|---|---|
| White | Baseline difficulty; no stake modifier | Learn a reliable scoring and shop rhythm. |
| Red | Small Blinds give no reward money | Budget without relying on Small Blind cash. |
| Green | Required scores scale faster with each Ante | Build scaling before the middle Antes. |
| Black | Shop Jokers can be Eternal: they cannot be sold or destroyed | Only lock a Joker you expect to keep. |
| Blue | One fewer discard | Favor hands and effects that need less setup. |
| Purple | Required scores scale even faster with each Ante | Get dependable score growth online earlier. |
| Orange | Shop Jokers can be Perishable and become debuffed after five rounds | Use a temporary Joker only with a replacement plan. |
| Gold | Shop Jokers can be Rental and cost $3 per round | Check recurring cost before buying a Joker. |
How to unlock stakes for each deck
Unlock the next stake by completing a run on the current highest stake with that same deck. A White win with the Red Deck opens its Red Stake; the Blue Deck still needs its own White win. Check the selector when you switch decks instead of assuming progress is shared.
The order is White, Red, Green, Black, Blue, Purple, Orange, Gold. Prepare for the next rule while earning the current clear: protect income before Red, build scaling before Green, and plan around Joker stickers before Black and beyond. A useful training win is one where you can name why the build worked.
Beating the Ante 8 Showdown Blind can mark the deck and Joker used with that stake's sticker. If you track completion, inspect both badges afterward. Unlocking the next stake and earning a sticker are related, but they record different progress.
Prepare for the Green and Purple score curve
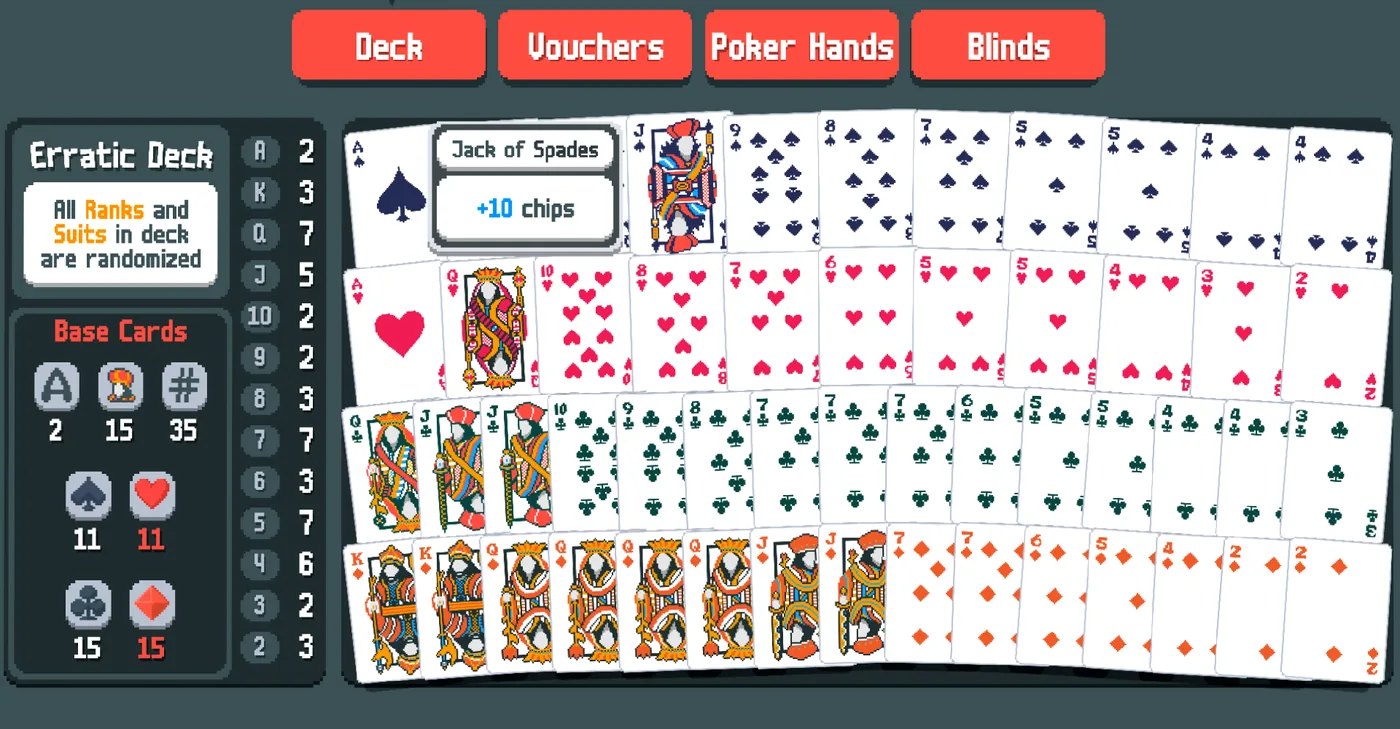
Green and Purple move the deadline for your scoring engine. A build that adds Mult only in late Antes may clear White but arrive too slowly when scores rise faster. Start scaling while early blinds are comfortable: improve a reliable hand, take a Joker that grows through normal play, or give a useful shop find a clear scoring role.
A high chip total is not a complete plan. Balatro multiplies Chips and Mult, so a weak side can bottleneck the run. Review the hands you play and your Joker order. If the engine depends on one specific card, add a flexible scoring or income source before the next Ante widens the gap.
Move the setup earlier
Higher score scaling rewards a plan that is useful by the middle Antes, not a collection of late-run upgrades.
Protect money and hand consistency
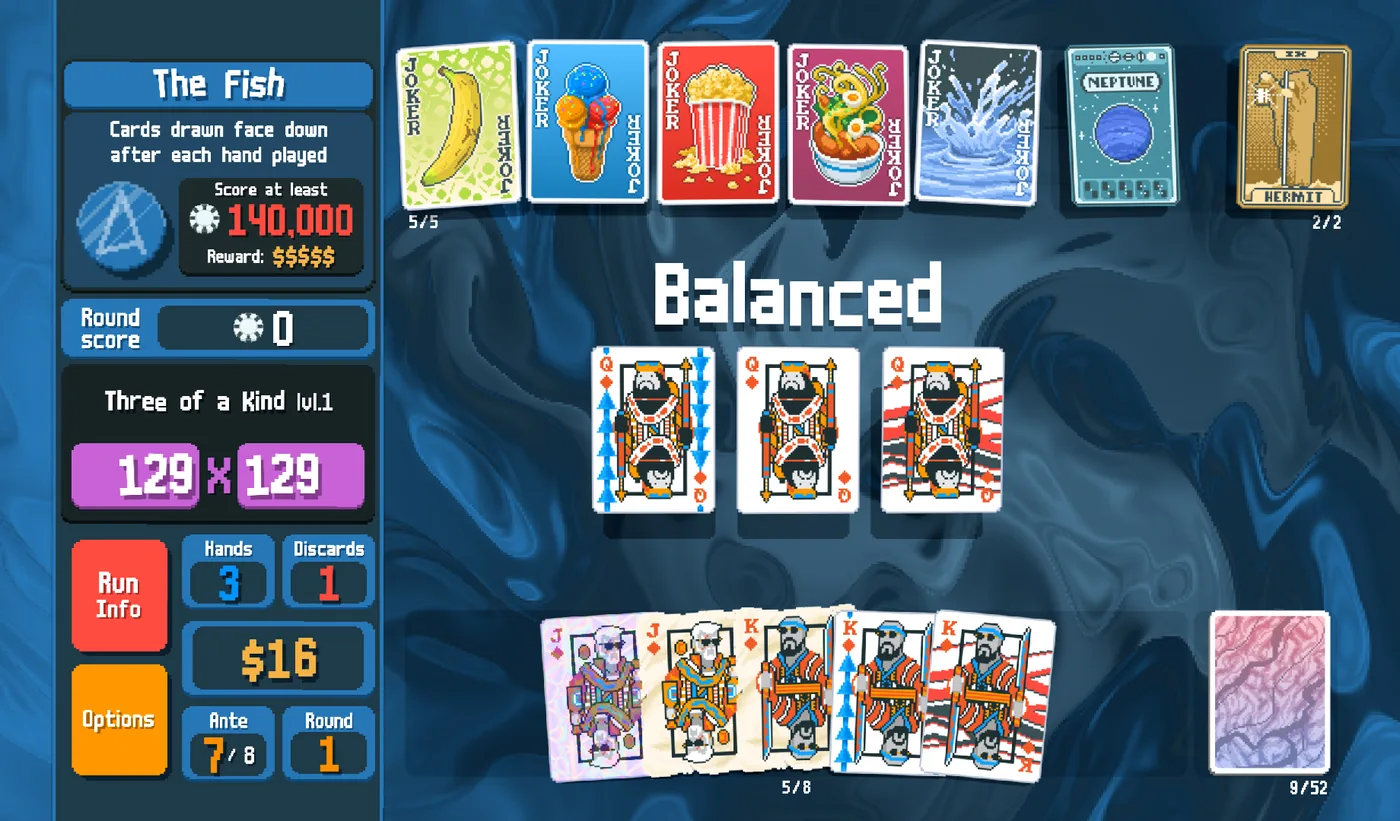
Red Stake removes Small Blind reward money, tightening the shop budget. Decide whether a purchase supports survival, scoring, or income before rerolling. Interest still matters, but money you cannot earn is not a plan. A cheaper useful Joker can beat repeated rerolls for a perfect build.
Blue Stake removes one discard. Hand selection is less forgiving when a build needs a narrow rank, suit, or poker hand. Keep a fallback hand, favor consistency effects, and spend discards on changes that materially improve the score or next draw.
Plan around Eternal, Perishable, and Rental Jokers
At Black Stake, an Eternal Joker cannot be sold or destroyed. Read the sticker before buying: a card you expect to keep is a safer lock than a narrow bonus you may replace. An awkward Eternal can block a slot when the build changes.
Orange adds Perishable Jokers, debuffed after five rounds. They can bridge an immediate scoring gap, but count the timer and plan a replacement. Gold adds Rental Jokers that cost $3 each round. Buy one only when its effect can repay the recurring drain.
Read the sticker, then the role
A Joker's base effect is only half its value at higher stakes. Check whether it is permanent, temporary, or a recurring bill.
Choose the next stake with a clear test
Move up when the deck can handle the new rule and the old ones. Before Red, test whether useful shops are reachable without Small Blind money. Before Green or Purple, check that score grows without a perfect late shop. Before Blue, test the main hand with one fewer discard. Before sticker stakes, review your plan for a lock, timer, or fee.
After a loss, note where the plan first failed. A cash gap points to Red; a widening score gap to Green or Purple; a missed hand to Blue; an immovable, expiring, or costly Joker to a sticker. Change one part of the next attempt so you can see whether it fixes the cause.
Common Balatro stake mistakes
Do not treat each stake as isolated: Gold still includes the missing Small Blind reward and earlier score, discard, and sticker pressure. Unlocks also do not transfer between decks. Finally, read a Joker's sticker before buying; a strong effect may be locked, temporary, or costly.
Do not wait for a perfect build. Time is a resource as scores rise, discards shrink, and shop costs matter more. Make a usable plan from ordinary cards, improve its weakest role, and keep a fallback hand. A rare Joker is valuable when it fixes a real gap, not merely because it looks exciting.
Balatro stakes FAQ
Sources and media
About this guide
Balatro Calculator Team
The Balatro Calculator Team builds fan-made score, odds and Joker-order tools for players who want to understand a run before committing a hand, a discard, a shop purchase or a reroll.
Last updated: October 22, 2026